Home
About Us
Contact
YouTube
Facebook
Twitter
Instagram
LinkedIn
About
News
Team
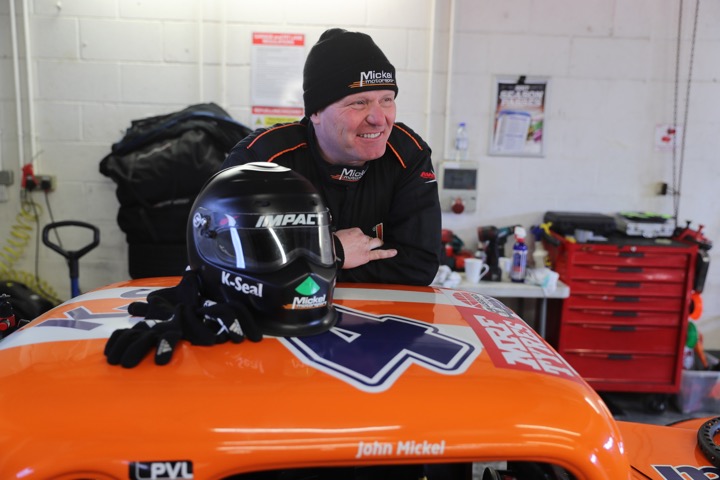
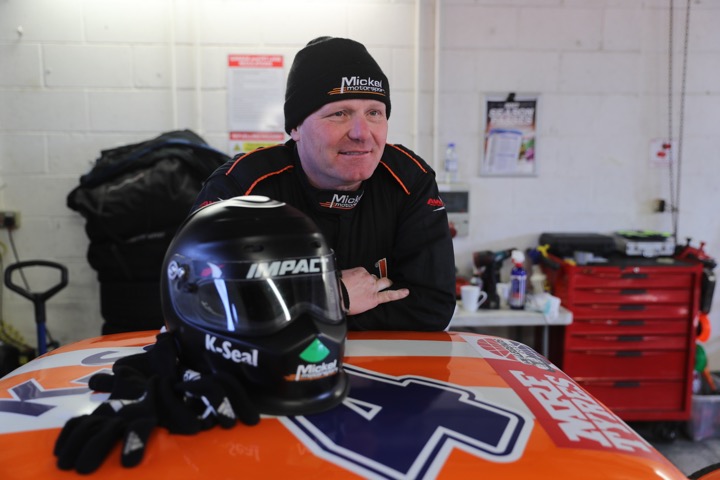
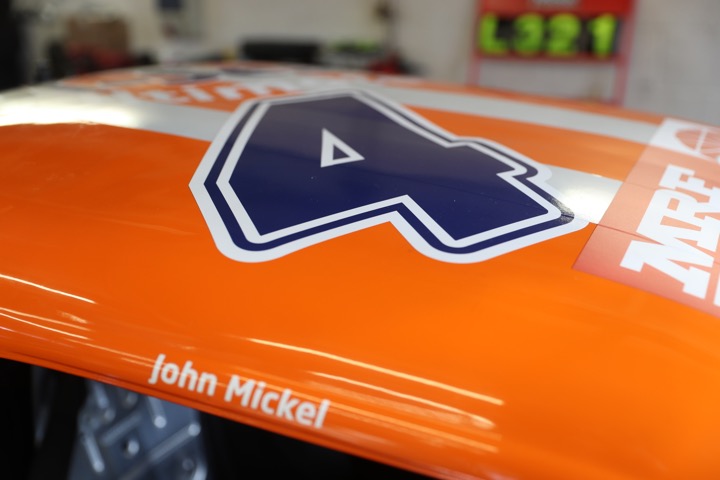
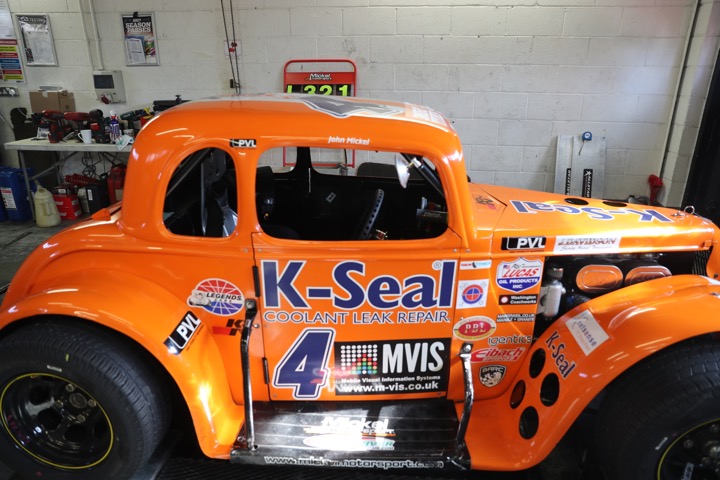
John Mickel
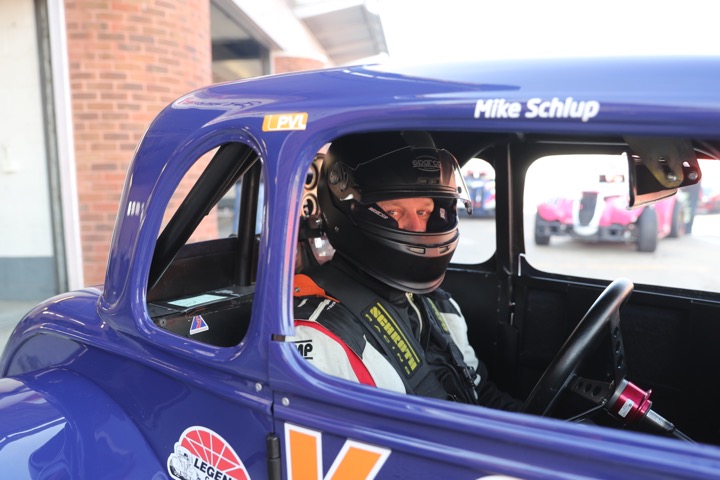
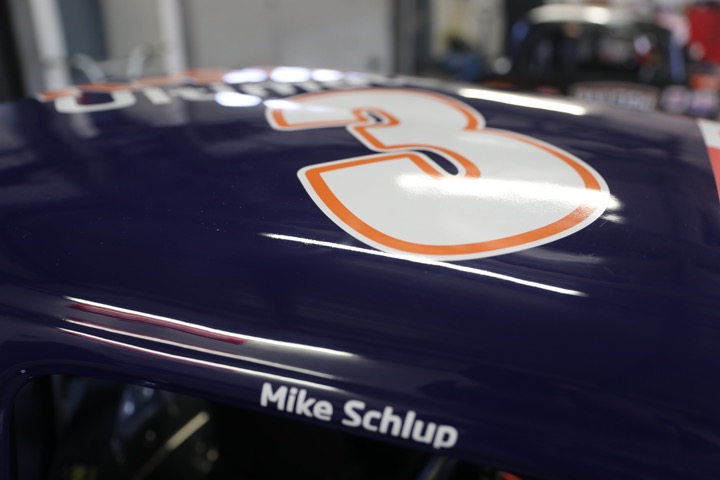
Mike Schlup
Oli Schlup
Nick Bridgeman
Mark Reid
Partners
Media
Photos
Videos
Press Clippings
2026 Season
Rounds 1 & 2
Rounds 3 & 4
Rounds 5 & 6
Rounds 7 & 8
Rounds 9 & 10
Round 11
Rounds 12 & 13
Contact Us
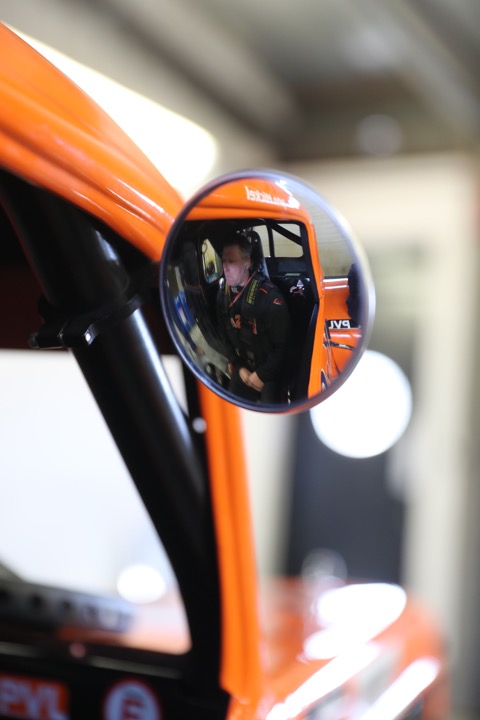
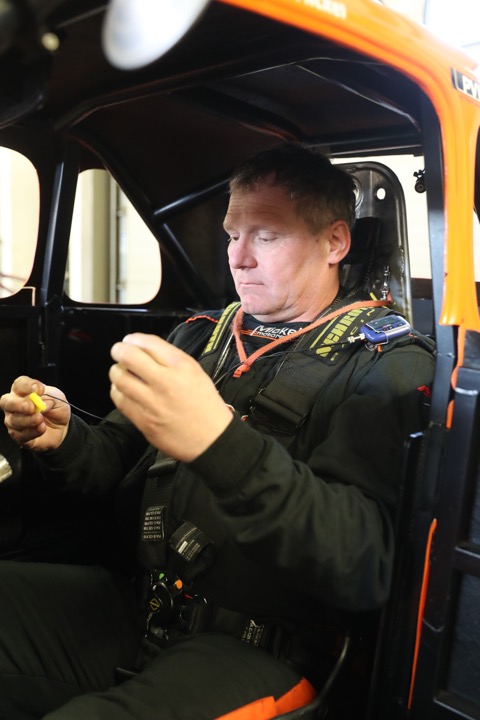
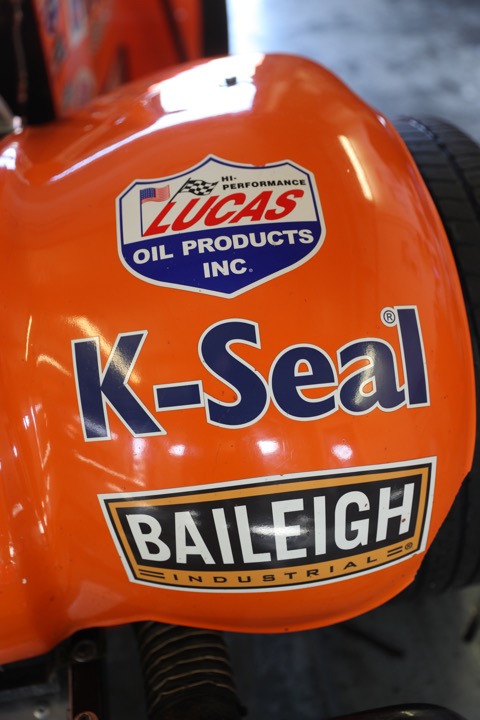
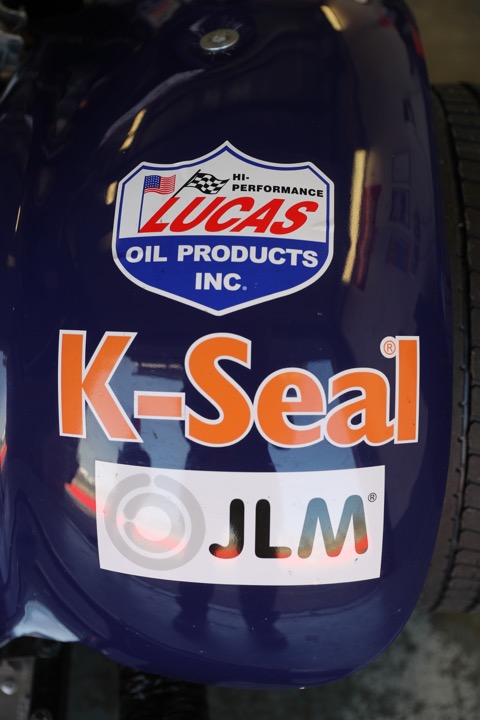
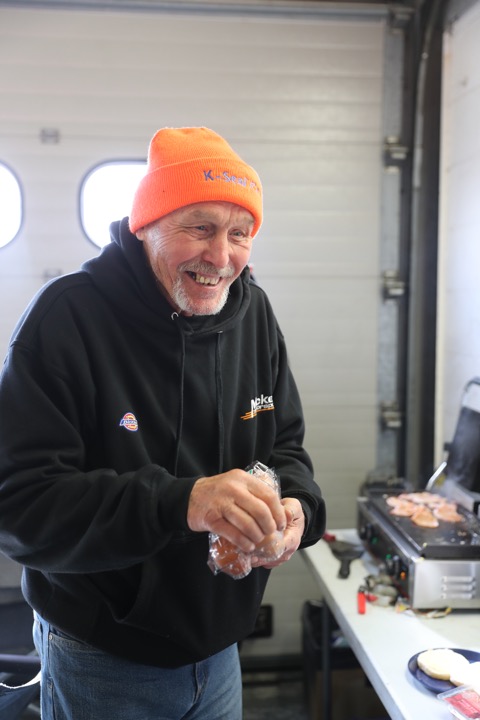
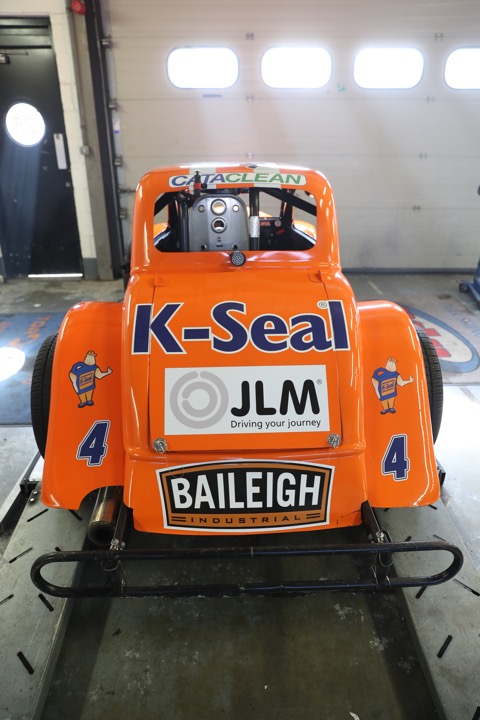
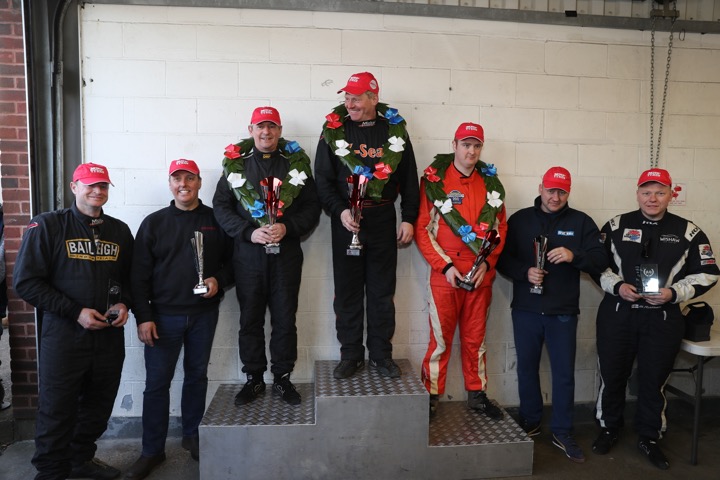
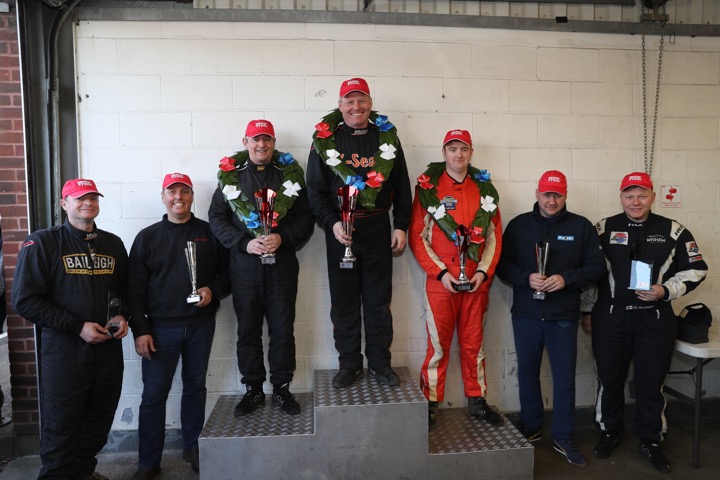
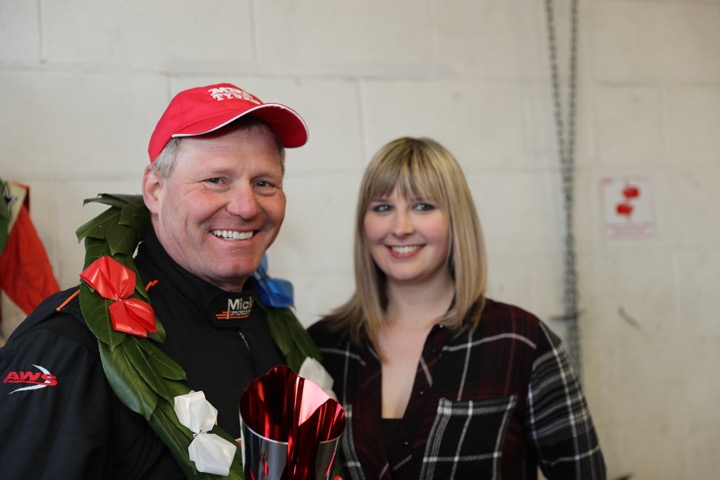
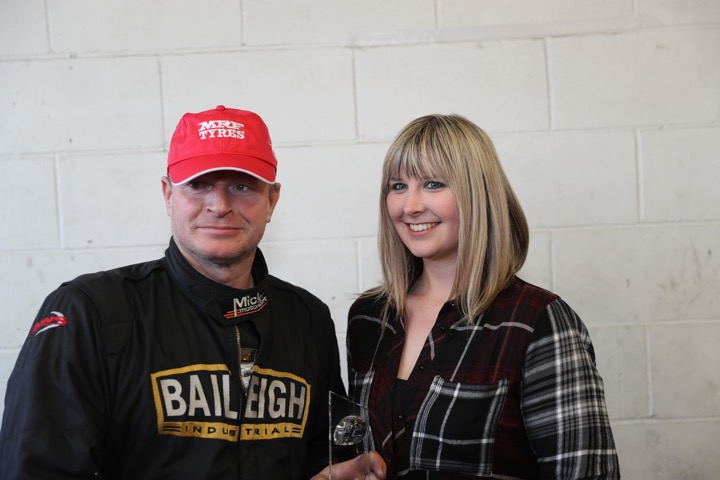
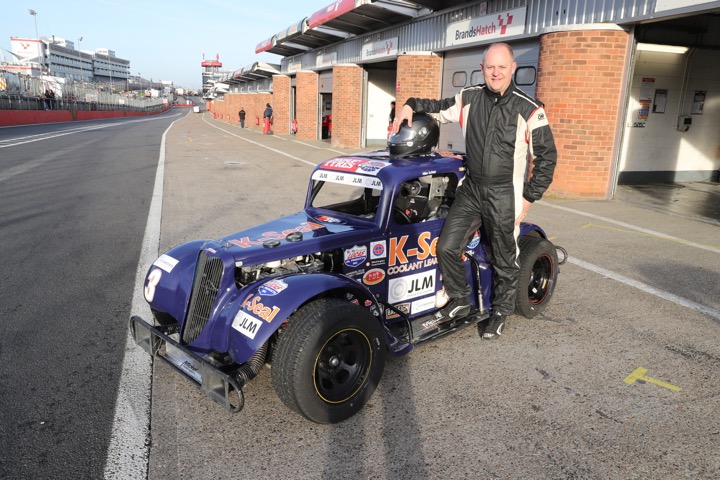
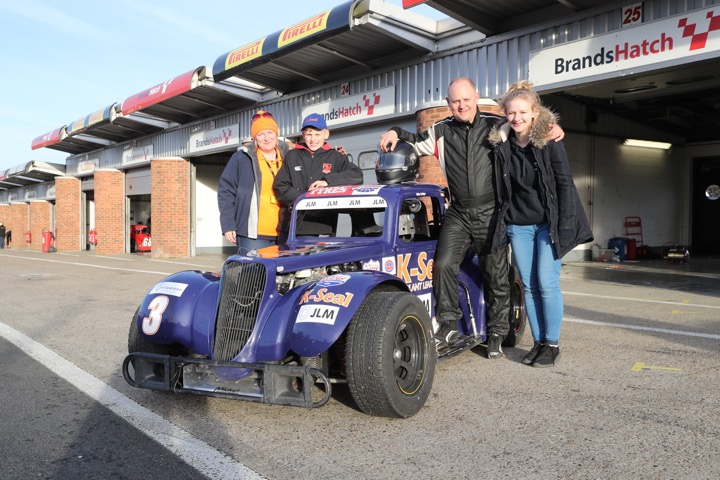
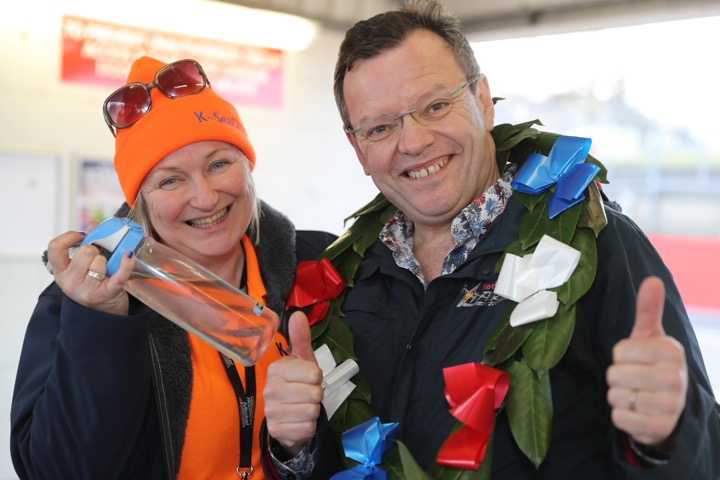
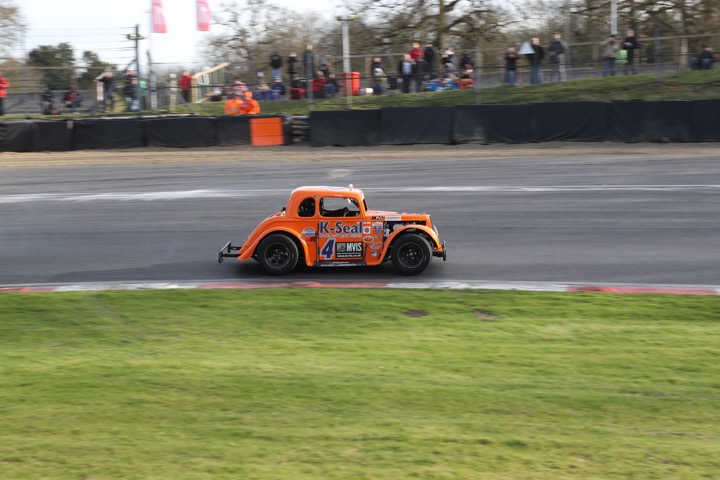
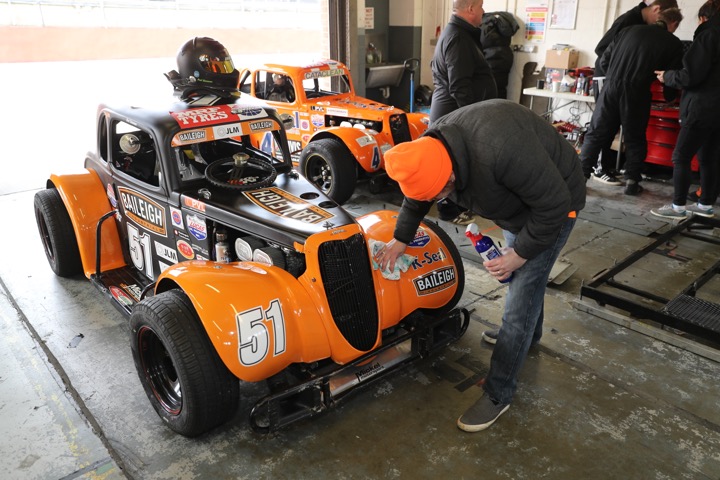
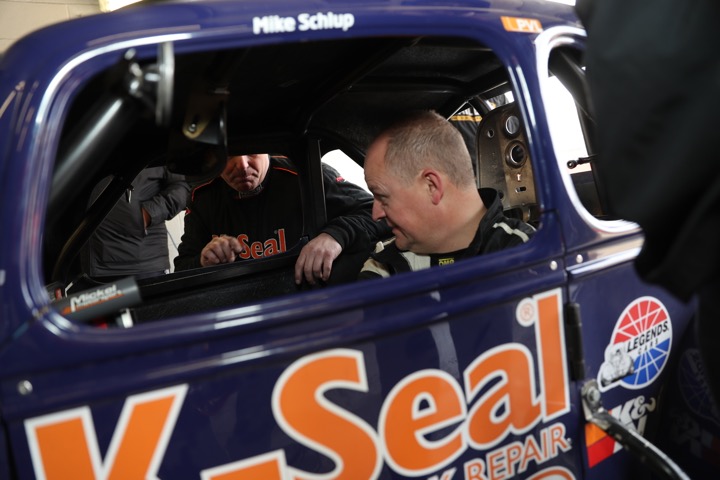
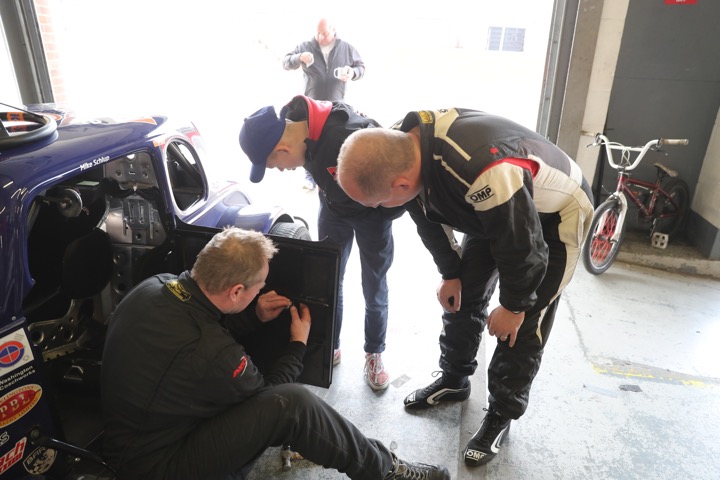
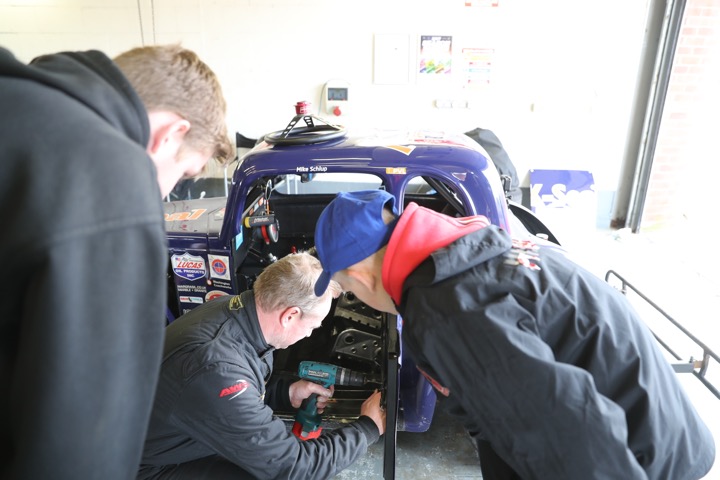
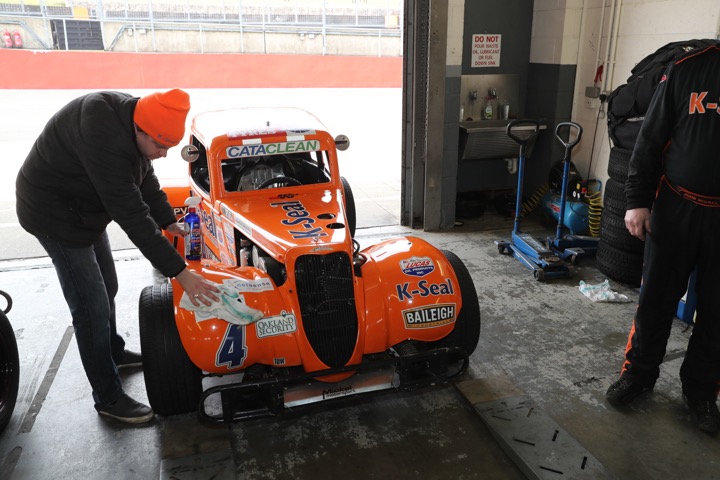
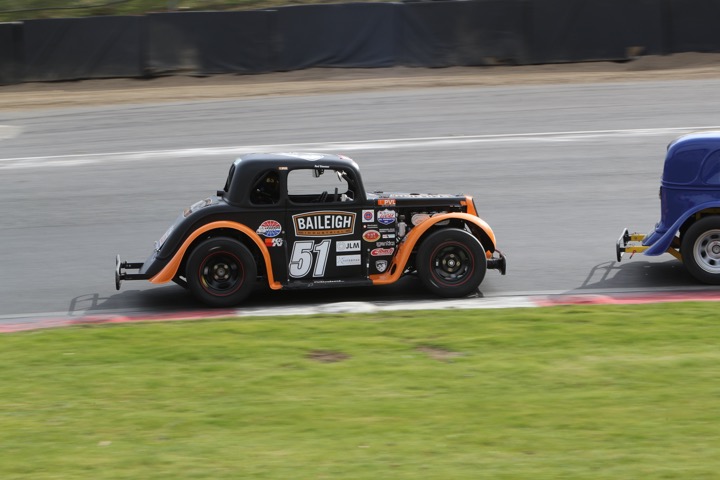
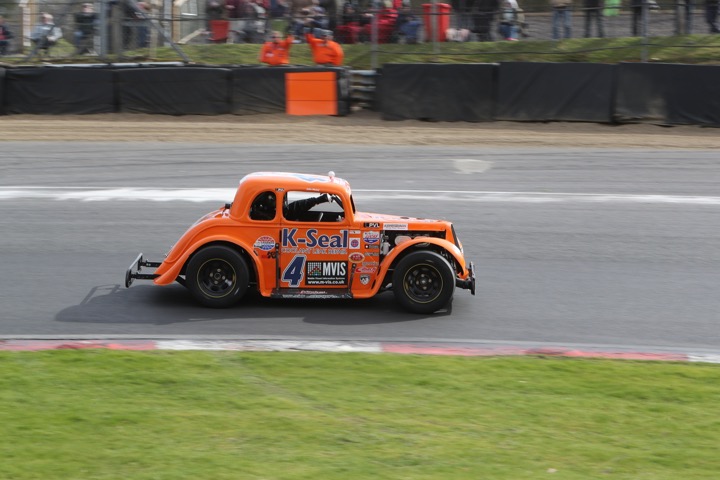
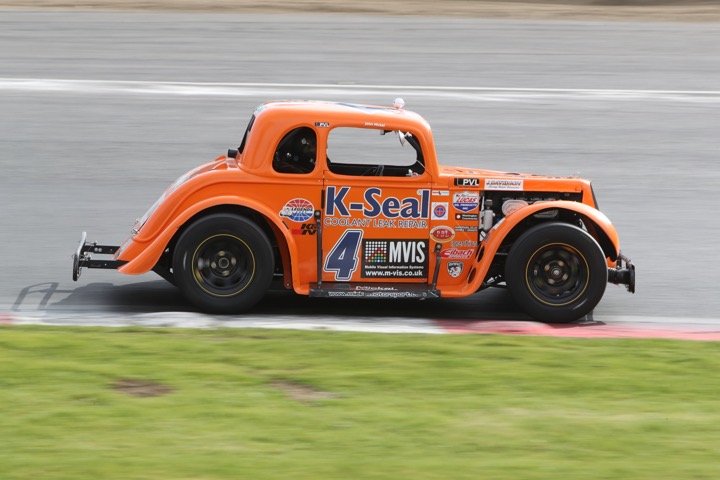
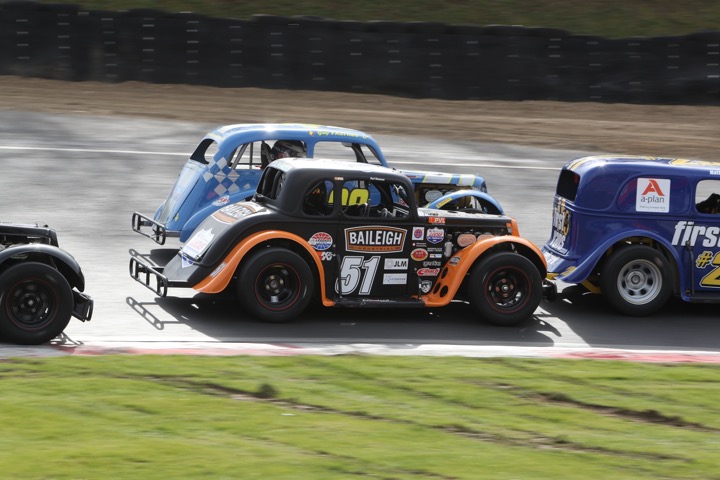
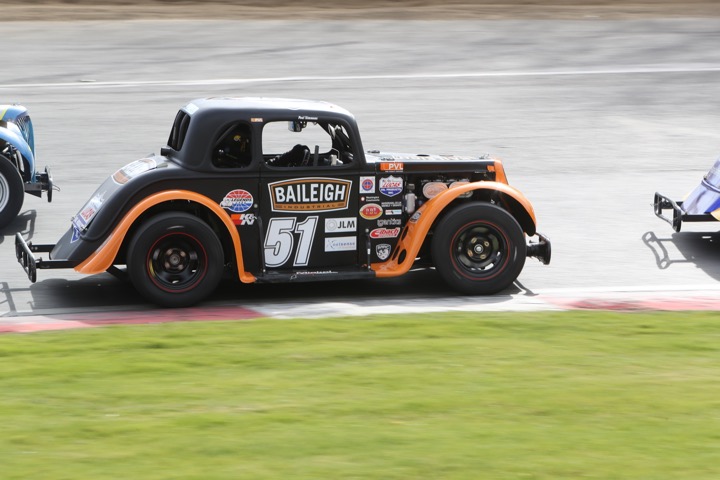
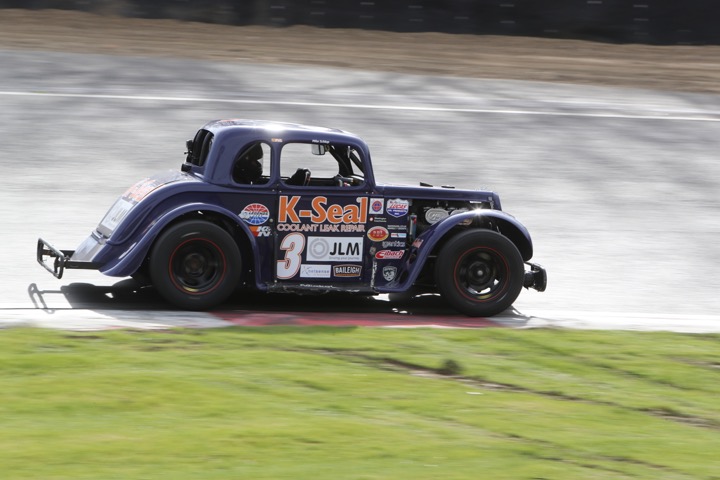
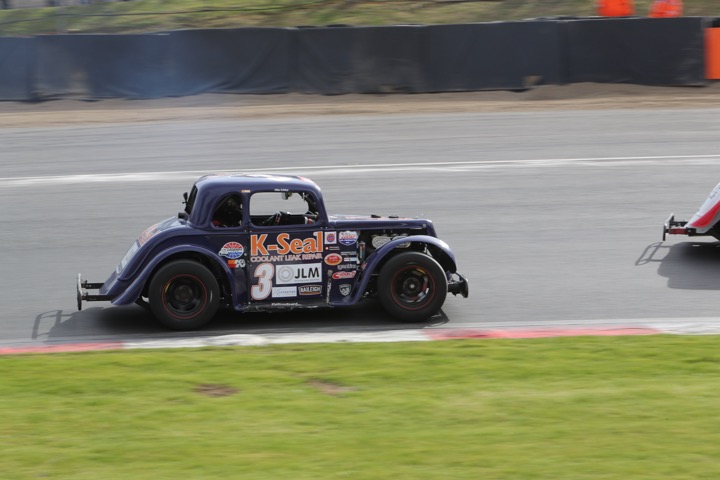
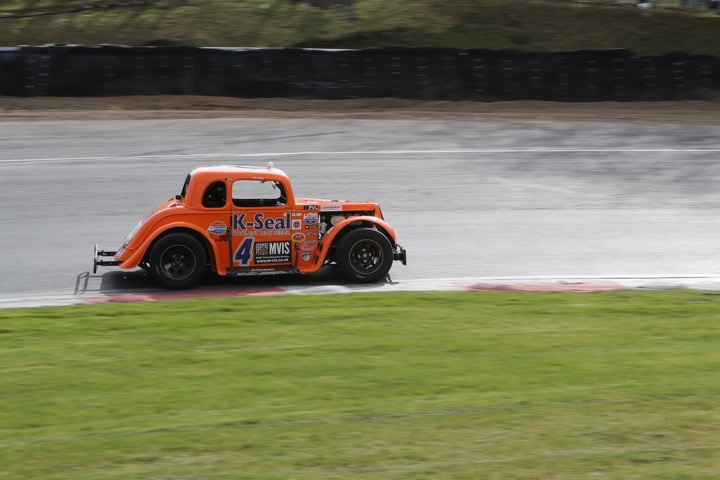
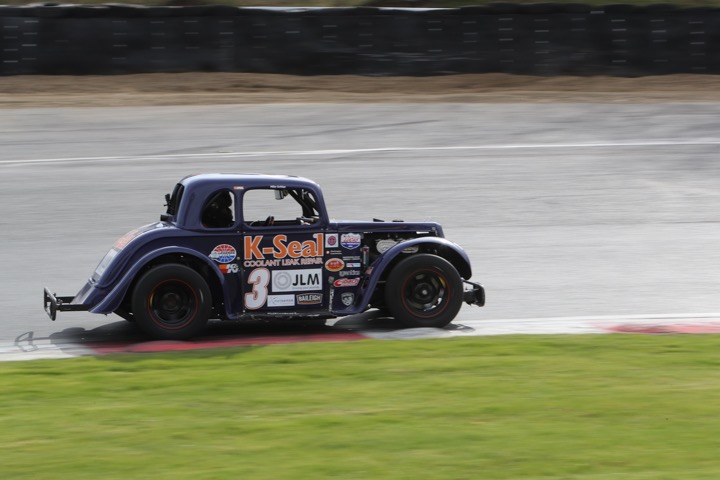
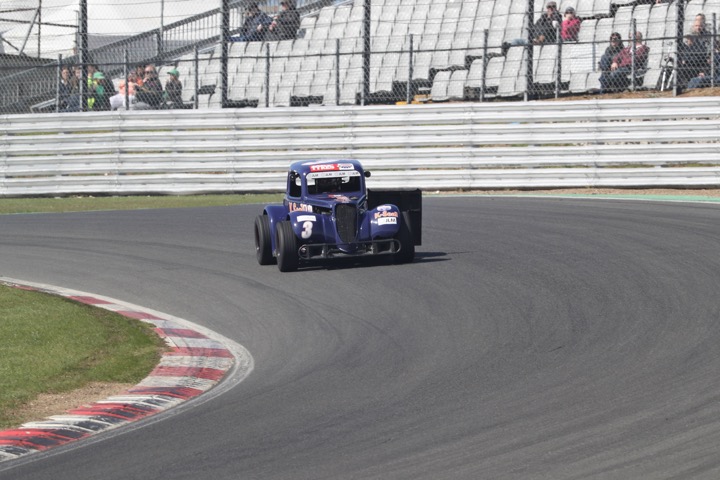
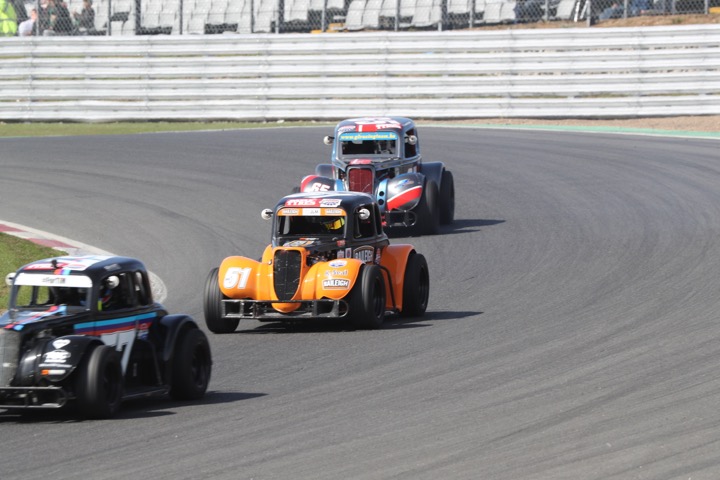
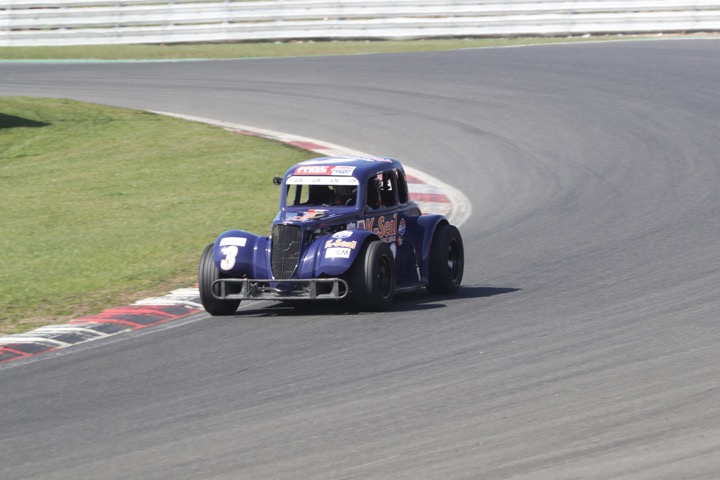
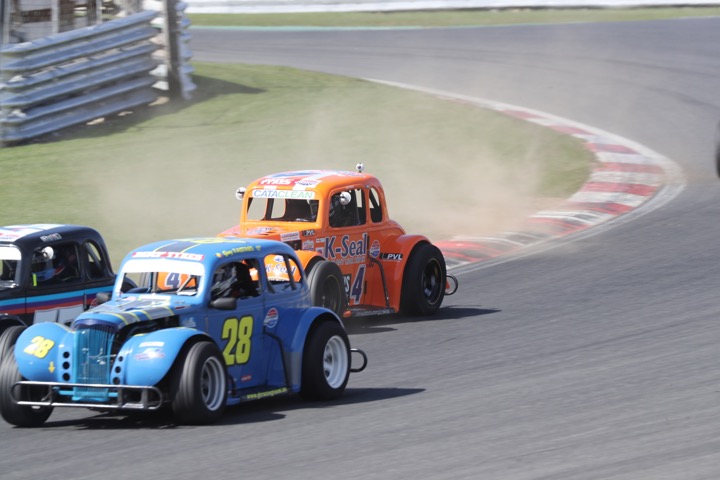
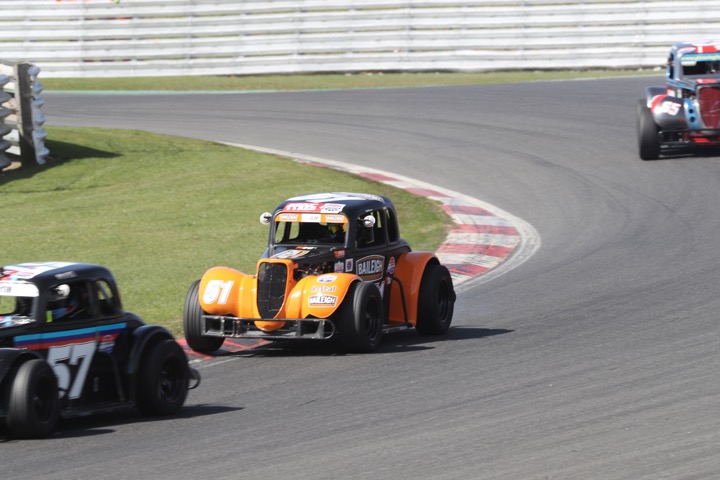
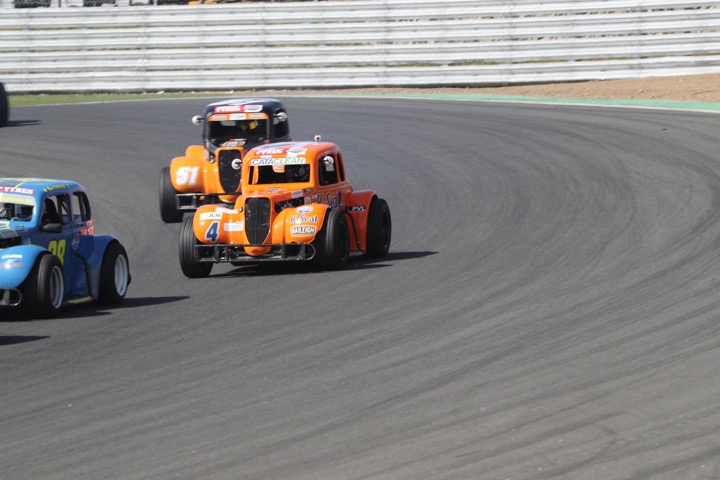
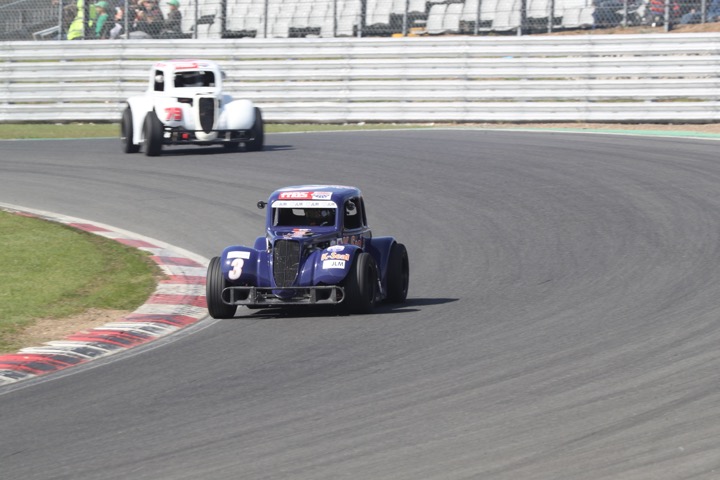
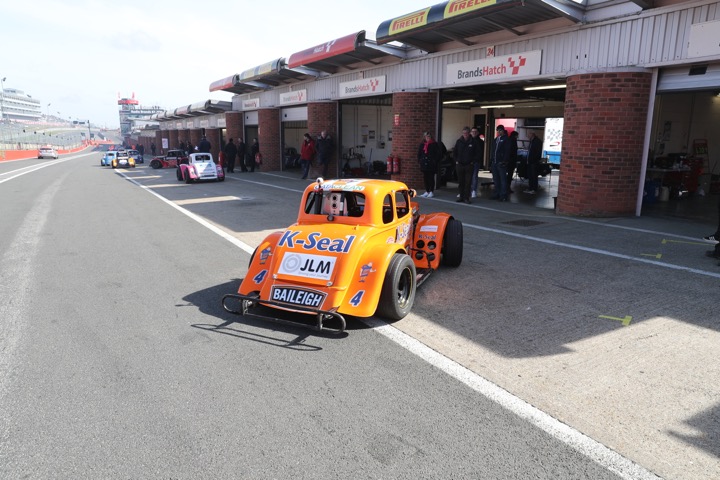
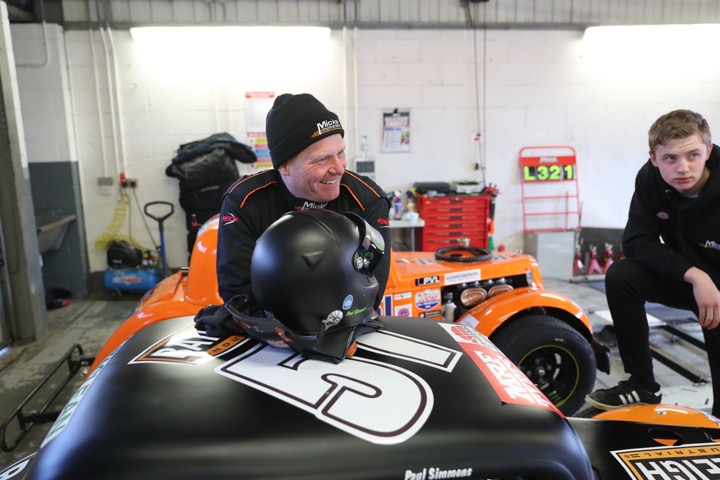
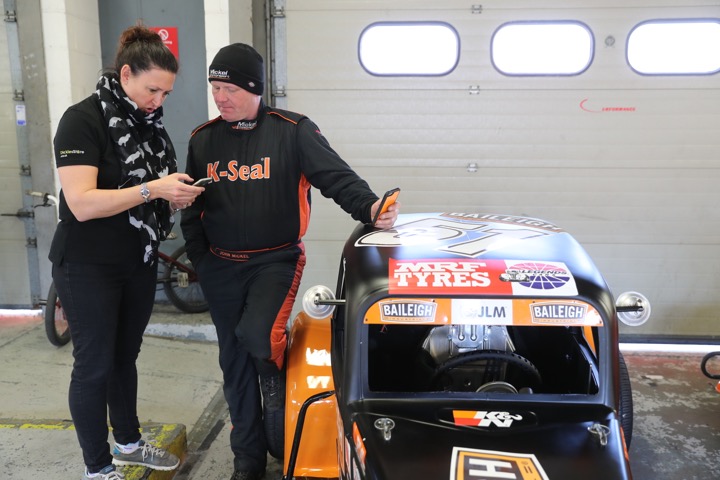
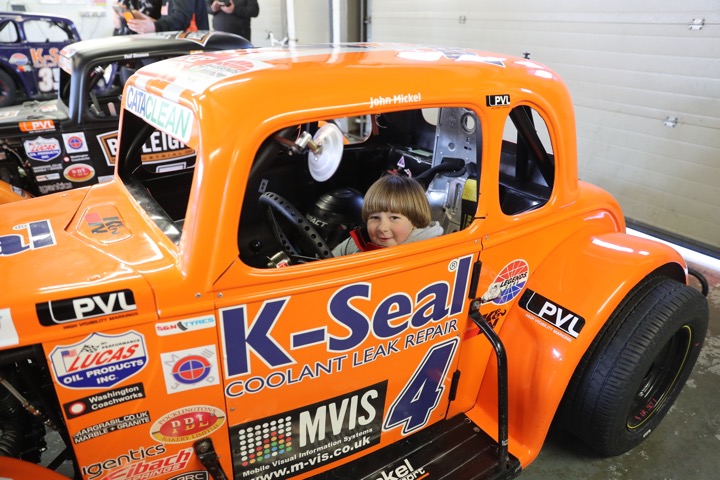
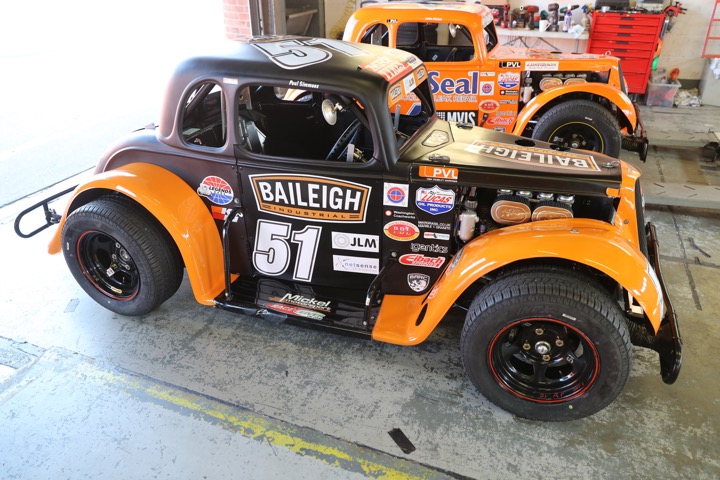
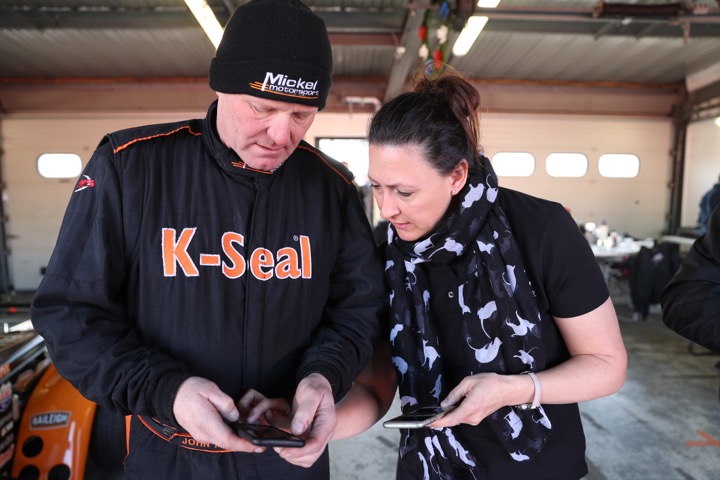
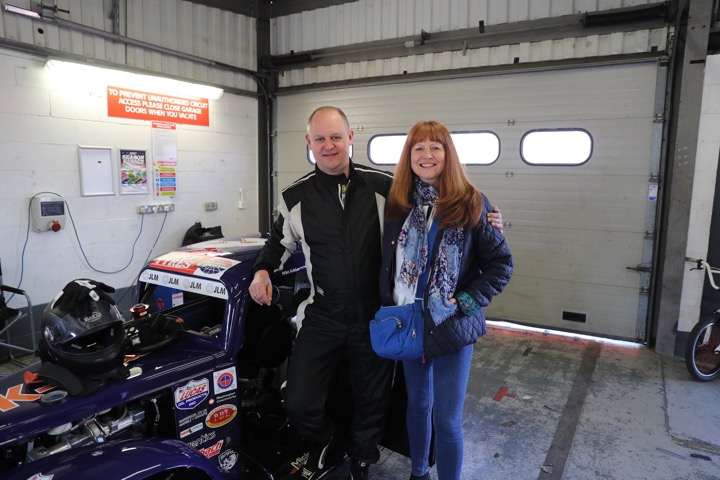
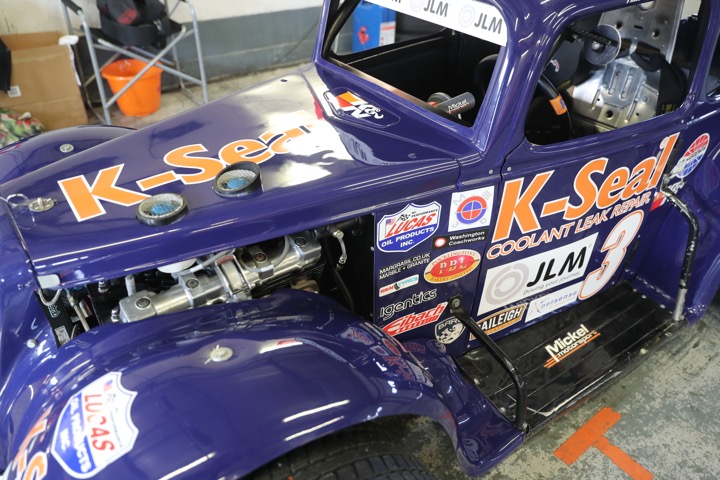
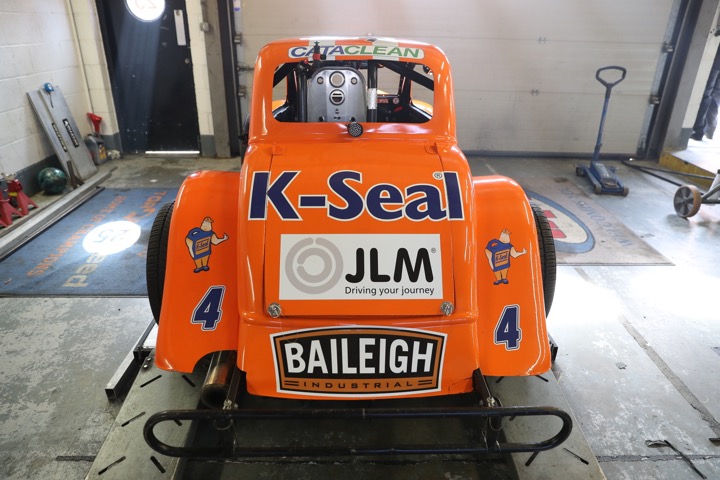
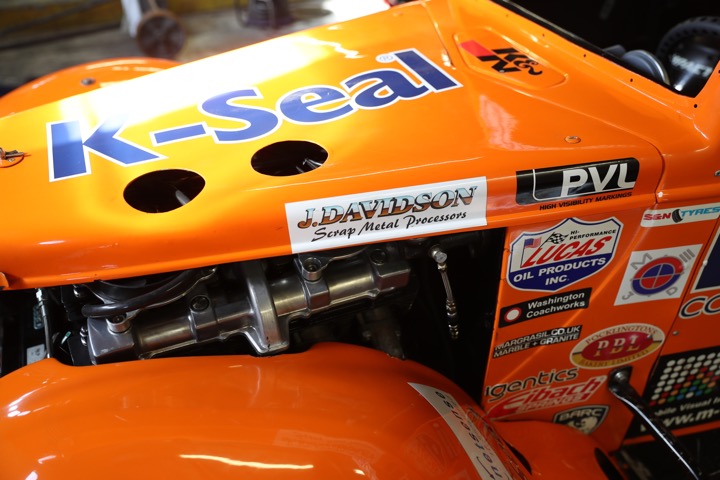
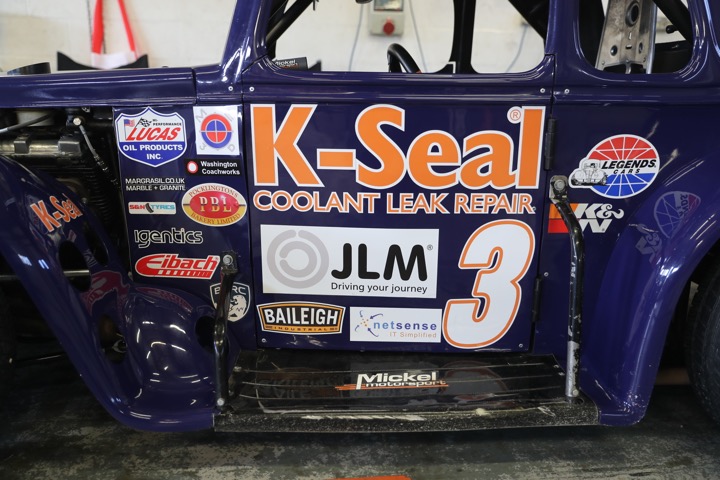
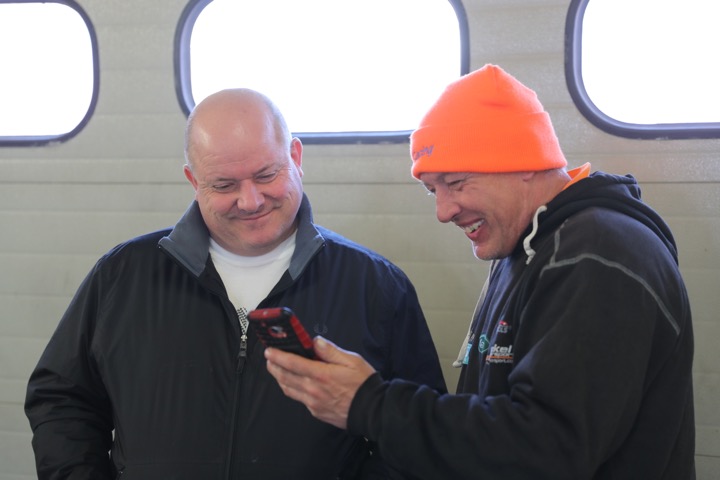
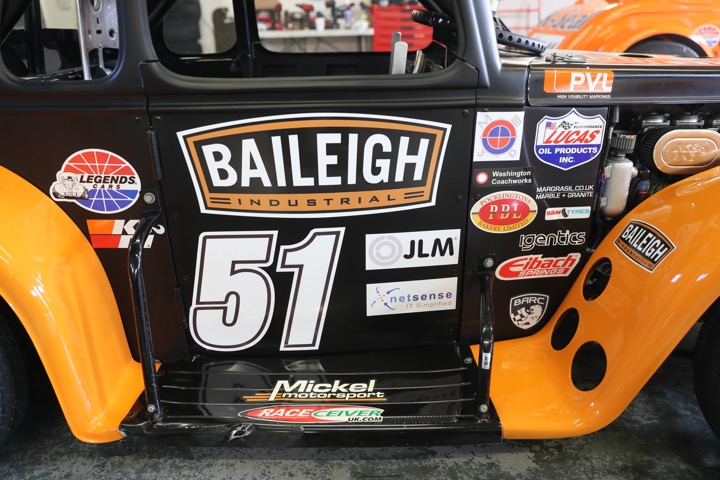
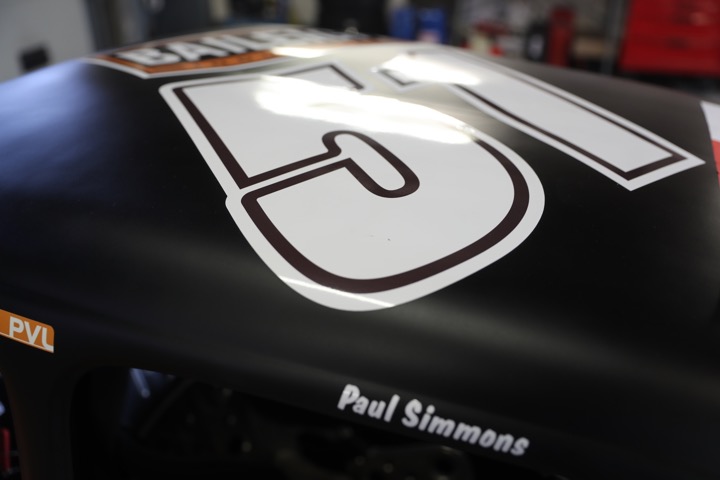
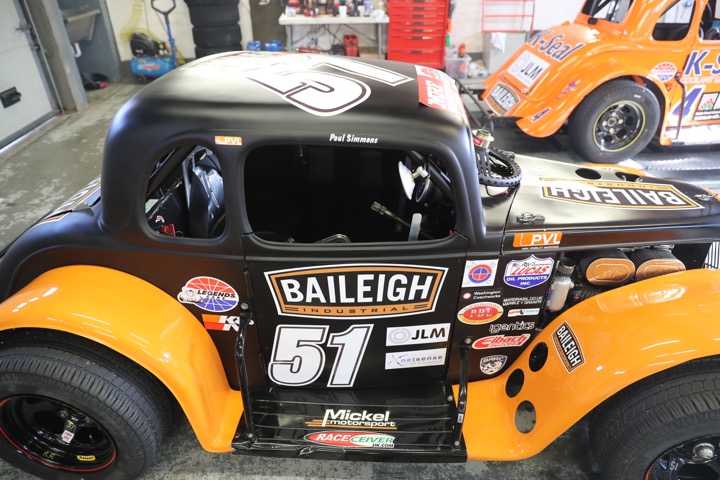
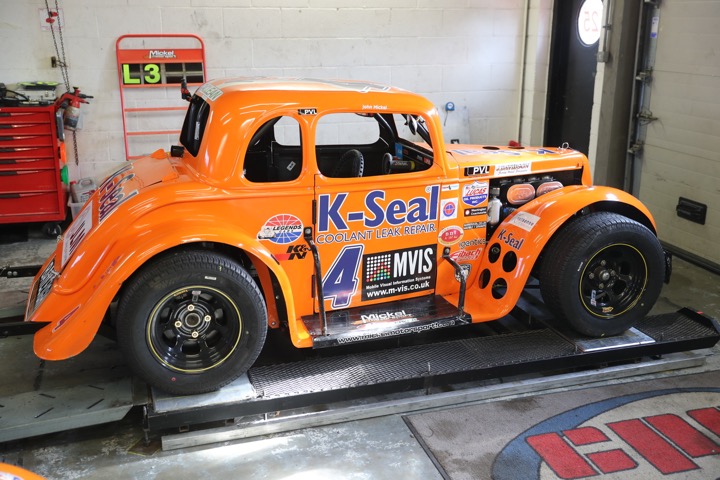
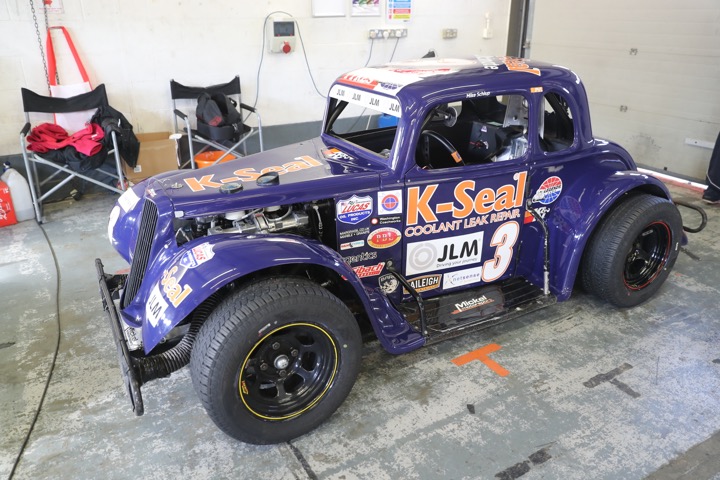
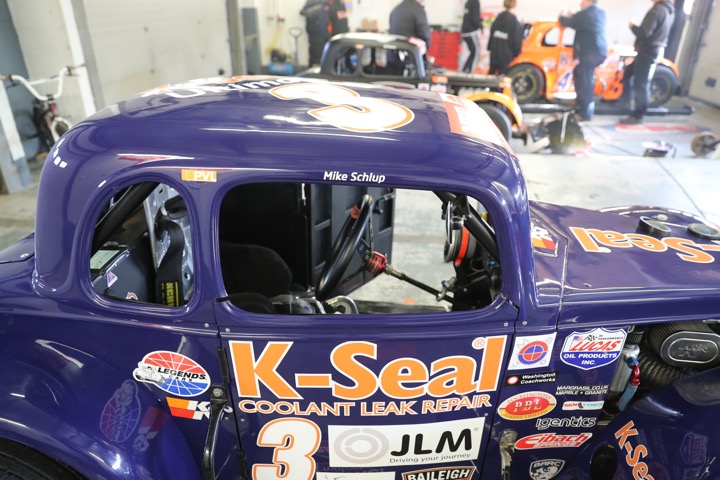
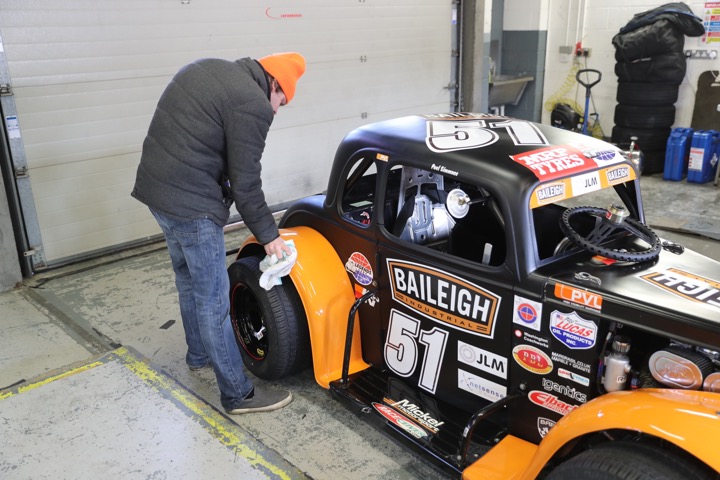
2017 - Rounds 1 and 2 - Brands Hatch
Photos by Anthony Tynan Kelly - All rights reserved